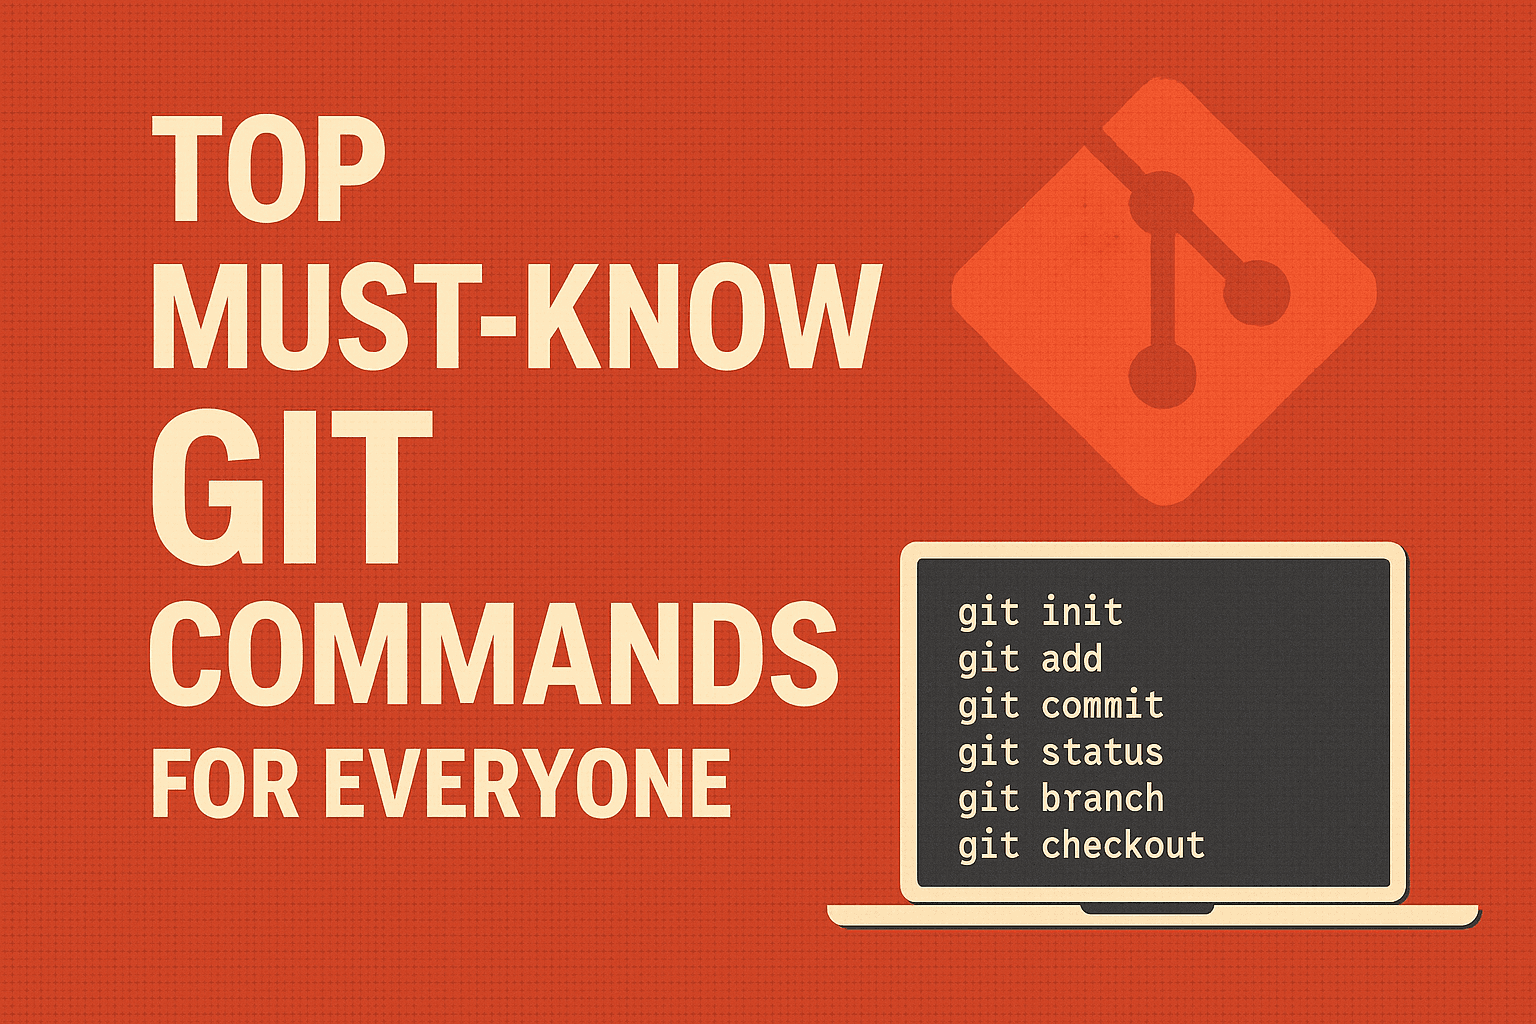
Top Must-Know Git Commands for Everyone
Starting your coding journey is exciting, but it comes with a common question:
"How do I manage all my code changes?"
You quickly discover Git and GitHub, learn the basic commands, and start feeling in control. But then comes the moment you need to set up a new project or fix a mistake, and suddenly, the basics don't feel like enough.
If that sounds familiar, so do I, means I was in your shoes until I don’t create a cheat sheet for myself.
In this guide I will give you the essential git commands you need to confidently manage your projects from start to finish.
Spoiler: The commands below are for daily use and managing repositories, mainly for local development. They are just the tip of the iceberg.
Whether you're new to coding or an experienced developer, Git is a must-have tool for managing your projects. It's a strong version control system with many commands, and figuring out when to use them can be confusing.
Why Git?
There are many tools available as alternatives to Git and GitHub, like Bitbucket, SVN, SourceForge, AWS CodeCommit, and Gitea. I chose Git because it was the first one I learned. Before that, I was using an FTP client(Wondering why and how? I'll write about it in my personal blog! ).
Right now, we'll explore Git, and this guide provides a simple, practical list of the Git commands you'll use the most. Let's get started!
Initial Setup & Config
First things first, let's create your Git environment on local machine for coding.
git init
This creates a new, empty Git repository in your current working directory on local machine. This is the starting point for any new project.
In the image below, you can see that the PythonPlayBook directory contains only one file named printer.py.

To save this on my GitHub account, I need to run git init, which gives the response below.

git config --list
To view Git configuration settings, including your username and email for the current repository

git config user.name "Your Name"orgit config user.email "youremail@example.com"
Want to set any specific user for this repository, use these command

also If want to check which user is already mapped to the repository use the same command without adding “Value“

Ready To Play
These commands will save your everyday work that you done.
git status
This command displays the status of files in your working directory and staging area, indicating which files are modified, staged for the next commit, or untracked.

git add .orgit add <file-name>
This command adds files to the staging area, preparing them for the next commit. Think of the staging area as a "waiting room" for your changes in file.
If we want to push all files in staging area we can use git add . in which (.) is for select all files
but If you want to add a specific file you can go with the git add <file-name>
After adding files, you can check the status again

git commit -m "Your descriptive message"
Now it's time to save the staged changes to your project's history. The -m flag lets you add a message describing what you changed.

git log
Displays the commit history for the current branch, showing who made changes, when they did, and the commit message.

git show <commit-hash>.
Undoing Changes (Safely!)
Made a mistake? No problem. These commands are your safety net.
git restore --staged <file>
Removes a file from the staging area but keeps the changes in your working directory. This is perfect for "un-adding" a file you staged by accident.
git reset --soft HEAD~1
Undoes the last commit but keeps all changes in the staging area. It's like you've hit "undo" on the commit itself, but not on your work, also remove the log entries.
git reset --hard HEAD~1
This will also undo the last commit but it will permanently deletes all associated changes from your working directory, ⚠️ Use with extreme caution!
git revert <commit-hash>
Creates a new commit to safely reverse changes from a previous commit without removing log entries, making it easy to track changes.
Working with Remote Repositories
Back up your code on platforms like GitHub.
git remote -v
Lists all the remote repositories connected to your local one, displaying their URLs, but shows nothing for a newly created local repository.

git remote remove origin
Let say you have multiple git hub account now you have to disconnects the remote repository named origin from your local project.
git remote add origin <remote-repository-url>
This command will connect your local repository to a remote one.
If you don't know how to create a remote repository, log into your GitHub account, find the green New button at the top left, or open https://github.com/new in a new tab.

After that, you'll see the page below. Fill in the fields, then hit the create repository button.

copy the marked URL, that is your remote-repository-url

git push -u origin main
Finally, uploads your committed changes from your local main branch to the remote repository.
Stashing: Saving Changes for Later
Need to switch branches but aren't ready to commit? git stash is your best friend.
git stashorgit stash push -m "A message"
Temporarily saves your uncommitted changes (both staged and un-staged) so you can get a clean working directory.
git stashsaves all your uncommitted changes (both staged and unstaged) in a "stash" and reverts your working directory to the last commit (HEAD).git stash push -m "A message"lets you stash only specific files by providing a file path.git stash push -m "Stashing just the CSS changes" -- src/styles/main.css
git stash list
Displays a list of all your stashed changes.

git stash applyorgit stash apply stash@{<index>}
Applies the changes from your latest or specific stash back to your working directory while keeping a copy of the stash.
git stash poporgit stash apply stash@{<index>}
applies the changes from latest or specific stash and then removes the stash from your list.
git stash droporgit stash apply stash@{<index>}
Deletes the latest or specific stash from your list without applying its changes.
git stash showorgit stash show stash@{<index>}
Shows a summary of the latest or specific stash.
git stash show -porgit stash show -p stash@{<index>}
Shows the full diff of the latest or specific stash.
git stash clear
Deletes all of your stashed changes. ⚠️ This cannot be undone, so use it carefully!
Conclusion
Git is a crucial tool for developers, providing strong version control to manage code effectively. By learning key commands like git init, git clone, git add, git commit, git status, git push, git pull, and git branch, you can start repositories, track changes, save work, check repository status, share and integrate updates, and manage branches. Mastering these commands improves workflow, collaboration, and project integrity.
That's all from my side. Thank you for your time, and I look forward to seeing what you'll achieve!
Don’t forget to comment (“I was here”).