Effortlessly Switch Between GitHub Accounts: A Guide for Developers
Are you a developer who finds yourself constantly switching between your work and personal GitHub accounts?
Do you find yourself triple-checking email address of your latest commit?
It can be really frustrating to keep your professional and personal code repositories separate, especially when you use the same machine for both work and personal tasks.
You're not alone, my friend! I was in the same situation and found a way to manage multiple GitHub accounts on one machine. I use Ubuntu, so I know it works there, but you can also try it on mac Os and Windows. Let me know in the comments if it works for you or not, so we can figure it out together.
I assume you already have more than one GitHub account and are facing this situation, which is why you're here looking for a solution. For those new to this, let me explain:
Why we need Separate Git hub accounts?
Before we dive into how, let's quickly look at why this setup is so valuable.
A Clean Divide: Work vs. Personal Projects Keep your professional work and personal projects separate. This helps to maintain clarity, especially when dealing with different project requirements, licenses, or team policies.
No More Accidental Commits: Ensure that every commit you make is correctly attributed to the right GitHub profile. No more accidental commits to your personal account from a work project, or vice-versa!
Better Security: Using different SSH keys for each account adds extra security. If one key gets compromised, your other accounts stay safe. It's also generally a better practice than just using HTTPS credentials.
Follow these steps with me:
Step 1: Generate a New SSH Key for Each Account
Open your terminal (Git Bash on Windows, Terminal on macOS/Linux).
Generate a new SSH key using the
ssh-keygencommand. Crucially, you'll specify a unique filename for each key. For example, for your personal account:
// Account 1
ssh-keygen -t ed25519 -C "your_personal_email@gmail.com" -f ~/.ssh/id_ed25519_acc1

// Account 2
ssh-keygen -t ed25519 -C "your_work_email@gmail.com" -f ~/.ssh/id_ed25519_acc2
As soon as you type the above command and press enter, you'll be prompted for a passphrase. You can leave it empty if you don't want to create one. It will then ask for confirmation; just press enter.

Breakdown of the Command
ssh-keygen: This is the command-line utility used for creating, managing, and converting authentication keys for SSH (Secure Shell).-t ed25519: The-tflag specifies the type of key to create.ed25519refers to the Ed25519 algorithm, which is a modern, highly secure, and efficient public-key signature system. It's generally preferred over older algorithms like RSA due to its performance and security benefits.-C "your_work_email@gmail.com": The-Cflag adds a comment to the key. This comment doesn't affect the key's functionality but serves as a label to help you identify the key's purpose. In this case, it's used to identify the user or the purpose of the key.-f ~/.ssh/id_ed25519_acc1: The-fflag specifies the file path and name where the key pair will be saved.~/.ssh/: This is the default directory for storing SSH keys. The~represents the user's home directory.id_ed25519_acc1: This is the base filename for the key pair.- The private key will be saved as
id_ed25519_acc1, and the corresponding public key will be saved with a.pubextension, asid_ed25519_acc1.pub.
- The private key will be saved as
Start the SSH agent in the background:
eval "$(ssh-agent -s)"Add your new SSH keys to the SSH agent:
 ssh-add ~/.ssh/id_ed25519_acc1
 ssh-add ~/.ssh/id_ed25519_acc2
Check if the public key exists at the location or not ls ~/.ssh

If the keys don't exist, you might have missed something. Try doing Step 1 again or check the file name and comments you used when creating the key.
Step 2: Add the Public SSH Keys to your GitHub Accounts
I assume you have your keys now, so let's inform GitHub about them.
Log in to your personal GitHub account in your web browser.
Go to Settings -> SSH and GPG keys.
Click "New SSH key" or "Add SSH key".
Provide a Title (“what ever you want it“) and paste the copied public key into the "Key" field.
Click "Add SSH key".
Oh! I didn't tell you how to copy the key, did I?
I assume you know where your public key is located, such as in ~/.ssh/. Simply run the command below and copy the content and paste it into the "Key" field.
cat ~/.ssh/id_ed25519_acc1.pub
Boom! Your personal account SSH setup is complete. Now, do the same steps for your professional account.
Remember: Each public key (.pub file) will be linked to its specific GitHub account.
Step 3: Create an SSH Config File
This is where the magic happens! The ~/.ssh/config file tells your system which SSH key to use for specific GitHub hosts.
Check if the config file exists at the location or not ls ~/.ssh

If you are doing this for the first time or don't have the config file, follow the steps below.
Create a
configfile without any dot (.) extension in your~/.ssh/directory# Below command will work for linux user touch ~/.ssh/config ## windows people, you know how to create files... Just Do It. :)Add the following configuration to the
configfile. Replace the placeholders with your actual email addresses and key filenames:# Professional Account Host work HostName github.com User git IdentityFile ~/.ssh/id_ed25519_acc2 IdentitiesOnly yes # Personal Account Host personal HostName github.com User git IdentityFile ~/.ssh/id_ed25519_acc1 IdentitiesOnly yes
Breakdown
Host
work: This sets up a custom name you'll use in your Git commands. You can call it anything you want, likegithub.com-personal,work, orprof.HostName
github.com: This tells SSH to actually connect to thegithub.com.User
git: Specifies the user for the SSH connection, which is alwaysgitfor the GitHub.IdentityFile
~/.ssh/id_ed25519_acc1: This is crucial – it points to the specific private key file to use for this host.IdentitiesOnly
yes:Prevents SSH from using other keys, making sure only the specified key is used. You can skip this if you prefer.
- Save and close the
configfile.
Step 4: Set Up Git for Each Repository
The last step is to tell Git which GitHub account to use for each specific repository.
Before moving further, Test your SSH connections using below command:
ssh -T git@personal
#You should see the message: Hi your_personal_username! You've successfully authenticated...

ssh -T git@work
# You should see the message: Hi your_work_username! You've successfully authenticated...
If everything works as expected, we can now start configuring repositories.
Go to your repository's folder in the terminal:
cd path/to/your/personal-projectSet the local Git user name and email for that specific repository
 git config user.name "Your Personal Name"
 git config user.email "your_personal_email@example.com"
Don't forget to set up your work/professional repository by following the same steps mentioned above.
Important: Notice there's no
--globalflag here. This ensures the configuration applies only to the current repository.
Update the remote URL for the repository: Now you'll need to change the remote URL of your cloned repository.
git remote set-url origin git@personal:username/repo-name.git
or you want to create new repository on local and want it push on specific git hub account
# Basic Step commands to create git repository
git init # create repo at local level
echo "# Repo1" > README.md # create readmeFile not compulsory
git add .  # add all content in the repo
git commit -m "initial commit"
git branch -M main # setting main as branch, else master will be default created branch

# Set github account, on which you want to create repository
git remote add origin git@work:workGithubUserName/xtrext.git

# push the code
git push -u origin main

Conclusion
Congratulations! Now you know how to manage multiple GitHub accounts on one computer. By using SSH keys and setting up the ~/.ssh/config file correctly, you can easily switch between your personal and work coding environments. This setup keeps your development workflow neat and organised.
No more headaches, no more accidental commits.
Just smooth, efficient coding across all your projects. Happy coding!
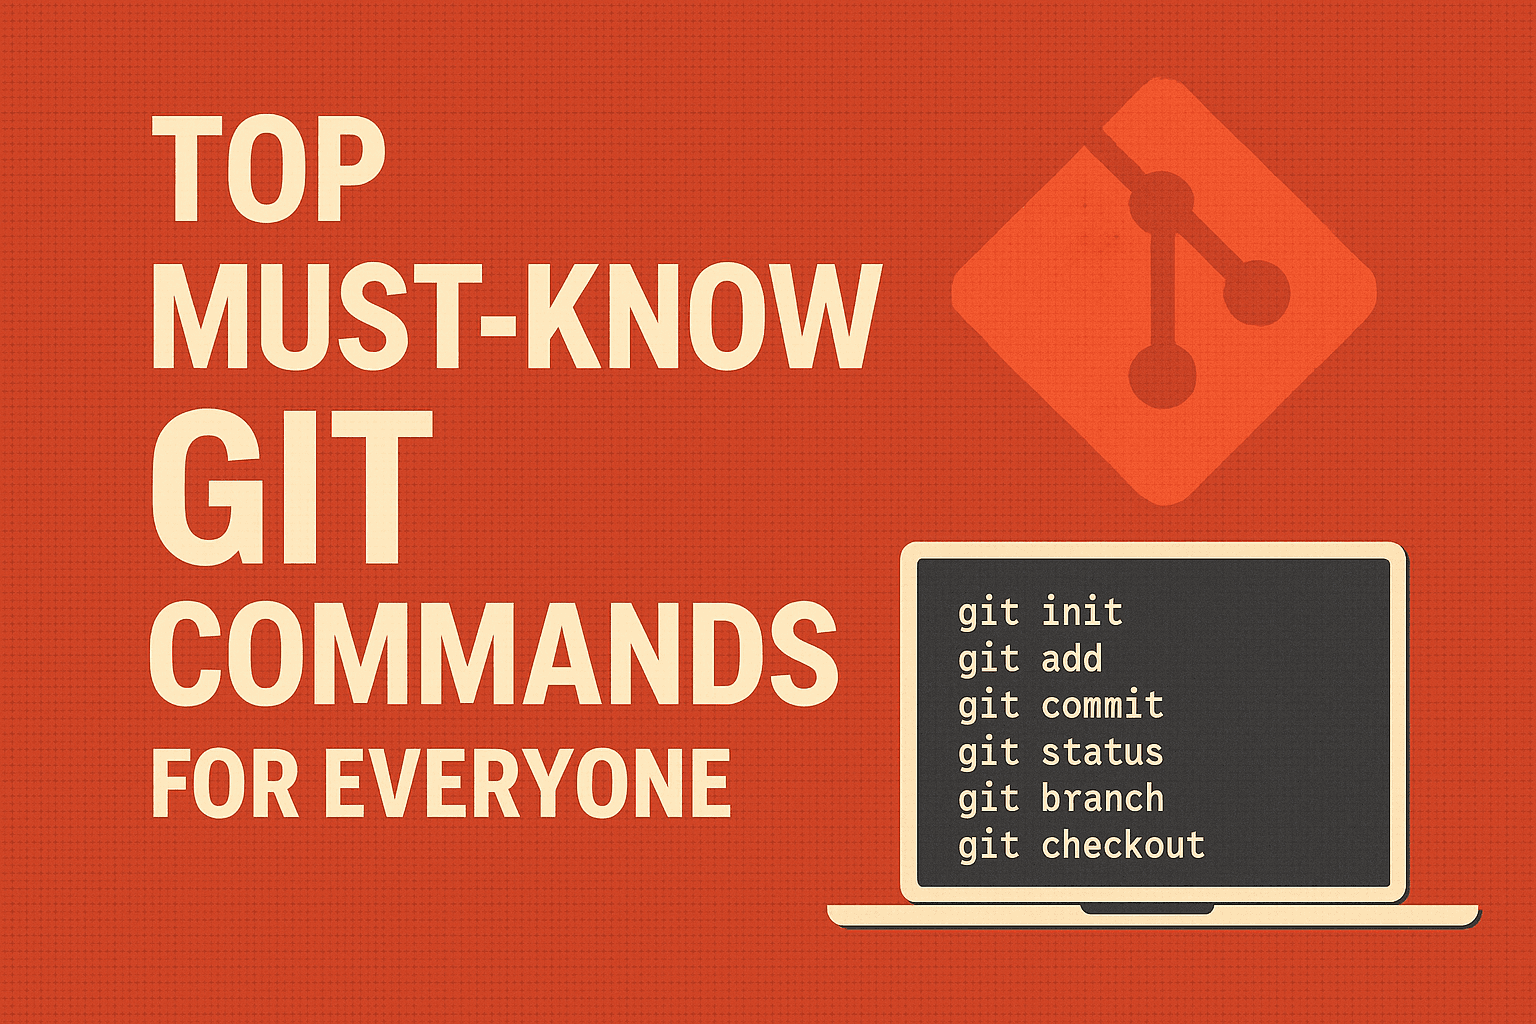
For more information or useful GitHub commands, please check my short note on daily GitHub commands: #MustKnowGitCommands.
Don’t forget to comment (“I was here”).